How can I visualize sound in a virtual environment?
Introduction
Sorama’s main products are acoustic cameras that detect and visualize sound and vibrations, even characterizing them from how loud they are or where their source is. Sorama’s devices can be seen anywhere from in the city to reduce noise pollution and detect predefined events to reduce noise levels in healthcare to prevent high stress. Sorama also assists developers in optimizing sound performance.
Sorama wants to have a digital playroom for its acoustic cameras in Virtual Reality. Its purpose is for customers to try the product first before buying it, but also to be expandable for Sorama’s R&D to test out new product concepts and later on for virtual training for new employees on how to use the acoustic camera. The playroom should contain sound sources and acoustic cameras that can visualize the sound source.
For this project, a bunch of important documents were made for further development and for review of the current progress. These documents include:
Meeting Document: To keep track of every meeting during the project.
Project Plan: A general overview of what the project will be and how the workflow will work.
Demonstration
This video showcases the current recorded version of the project. It shows all the features of the project, such as the heatmap, spectrum, interaction and VR-compatibility.
Progress
Research
At the start of the project, the first step was to research how the VR Playroom should be made. Certains topics were researched, such as the usage of what game engine and the physics behind the acoustic camera and sound in general. All this research is saved in a research document. The document shows research of the main research question: “How can I visualize sound in a virtual environment?” The results of the research concludes:
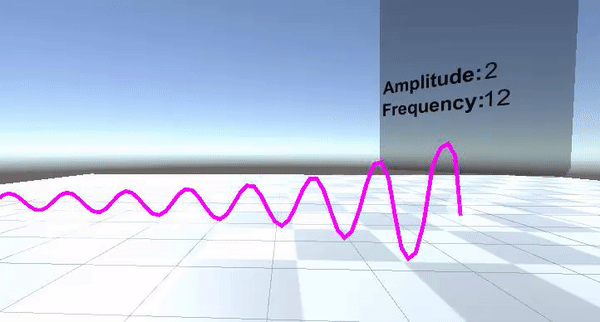
“To visualize sound in a virtual environment, it needs a sound source with a frequency, amplitude, and phase and an acoustic camera that uses beamforming to make a heatmap that displays the location of the sound and FFT that displays the spectrum and a virtual environment in Unity that can simulate these actions like how they work in real life.”
There was also research on the type of VR headset used for the project. This research was also saved in this document. The result was the HTC Vive Pro 2 for flexibility and better performance than the other headsets.
The biggest research done was to find out what type of visualization will be used for this project. A test environment was created to create mock versions of the visualizations and to see which ones would be preferred for this project. Progress of the development of the test environment is saved in this document. The results of the testing of each visualization was to use the heatmap on the acoustic camera and the spectrum on the acoustic camera and a seperate screen for more detail.
Design
After the research was done, the next step was to start designing for the project.
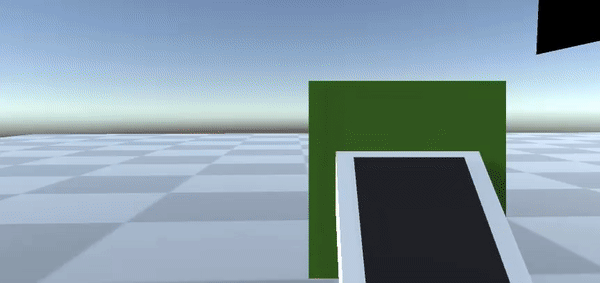
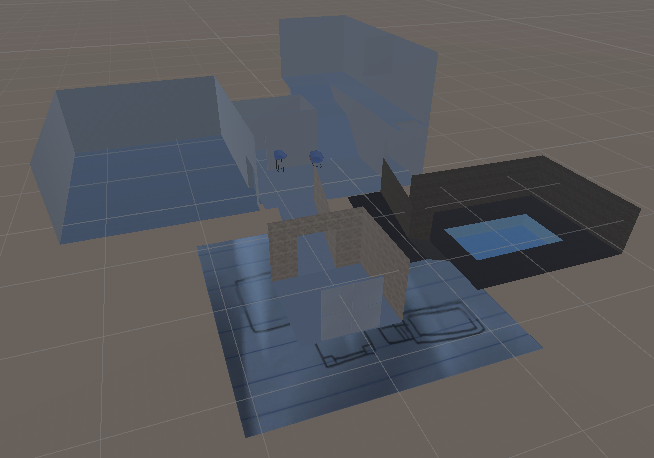
The concept of the project is to create a playroom with different sound sources that can be visualized by using the acoustic camera.
A design document was created to keep track of every design aspect, such as UML Diagrams and Sketches of the layout.
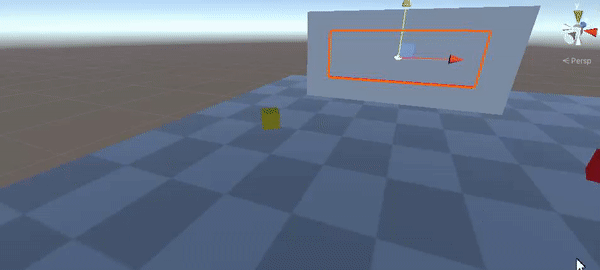
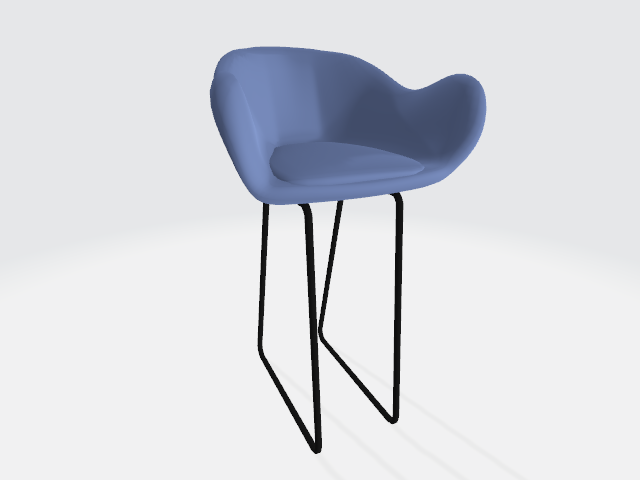
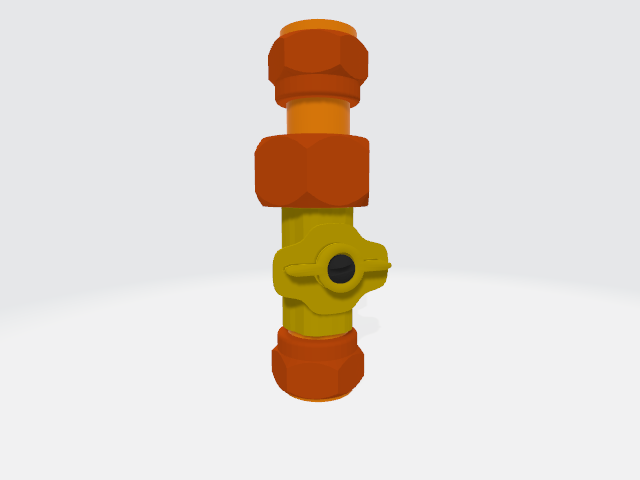
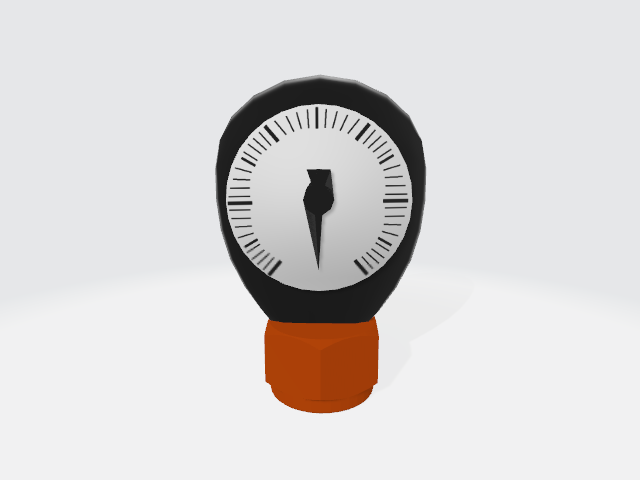
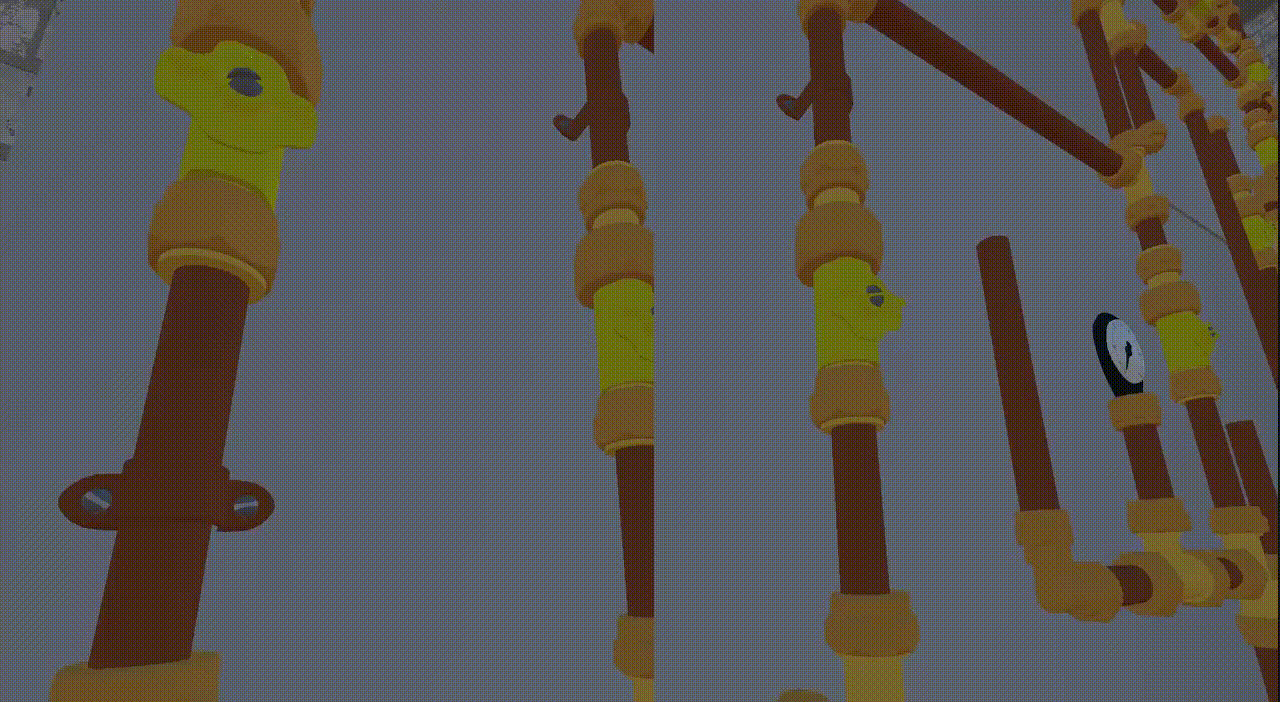
During the Design Phase, a lot of props were modeled in Blender for the project. Some props are regular office props, such as a cup, while others were more similar to the Sorama building, such as the valve.
In order to make the project more “game-like”, the playroom would be divided into smaller rooms. Each smaller room would have its own gimmick and variable to test out with the acoustic camera.
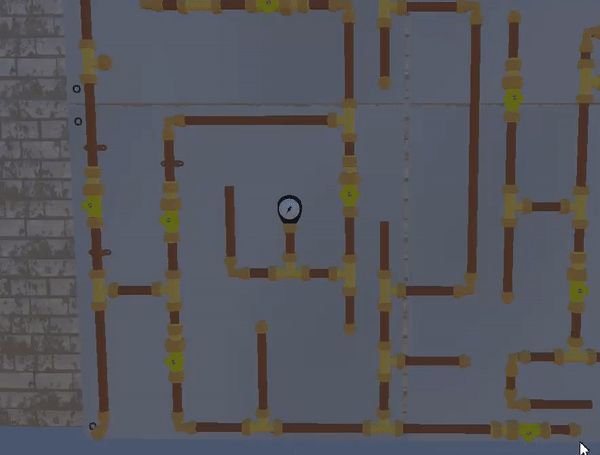
The biggest one for this project is the Pipe System Room.
The pipe system room is based off an actual pipe system located in the basement of the building, used by Sorama for testing. The player would be able to twist the different valves and see the possible leaks with the acoustic camera.
Progress of the Pipe System is saved in this document.
Development
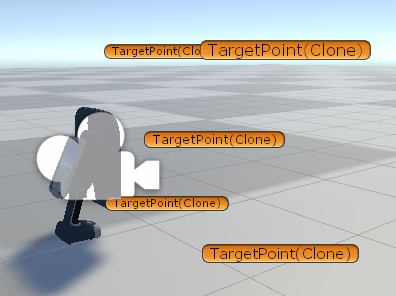
After Designing, the next step was to start on development of the project. Around this time, the VR Headset arrived and so the focus started first on making the application VR-Compatible. In the playroom, you can look around, walk around and interact with objects.
Developement of the progress of VR-compatibility is saved in this document.
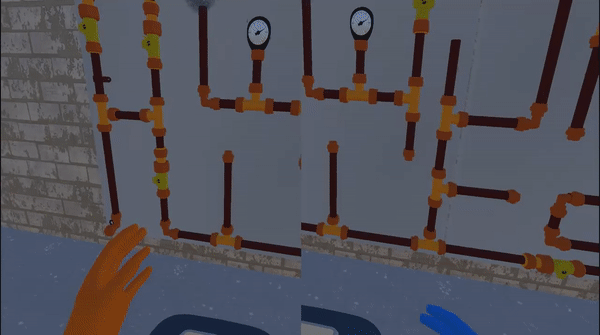
After that, development started on the beamforming algorithm for the playroom. The beamforming should detect where the source is coming from and make a heatmap image and a spectrum graph from the found sound source.
Development of the progress of the beamforming is saved in this document.
Testing
The final step for this project was to test out the environment to find any bugs, to see what was good for the project and what needed to be improved.
A test plan was created to test out the functionalities of the project and to find unwanted problems. The test plan can be found here.
Testers for this project consisted of workers and interns from Sorama. The results of these tests can be found in this document.
There are also recordings of these tests, which can be found in this playlist.
These results resulted in some changes of some features, as well as implementation of new features, which can be found in this document.
Evaluation
The experience of working with Sorama has been amazing for me. I’ve worked with something I’ve always wanted to work with, that being VR. I’ve always received mostly positive feedback from the parts I’ve shown, so I’m proud of that. Here’s a more detailed Personal Reflection containing Pros and Cons. The project is a nice start for Sorama, but how would Sorama continue or improve? That can be found here with advice on both the project and Sorama’s workflow.
Others
This section consists of activities that aren’t related to the Design cycle of the project, but are as important for the process of the project as the other activities.